
5 Game-Changing Canva Background Remover Features Every Entrepreneur Must Master
When it comes to building a brand, visual appeal is non-negotiable. As an entrepreneur, you likely face the challenge of needing professional-grade graphics but lacking the time to master complex software like Adobe Photoshop. This is where Canva Background Remover features provide an easy design solution, bridging the gap between complexity and efficiency.
In the fast-paced digital market of Bangladesh, speed is your greatest asset. However, simply clicking “Remove Background” is just the beginning. To truly achieve a “Photoshop-level” finish, you must dive deeper into the hidden manual controls that most users overlook.
The Evolution of Selection: From Pen Tool to AI Precision
In traditional graphic design, isolating a subject requires surgical precision with a Pen Tool. While powerful, it is incredibly time-consuming. Canva’s AI-driven background remover has revolutionized this workflow. But as any expert will tell you, AI isn’t always perfect. The secret to premium design lies in the manual refinements you make after the initial AI cut.
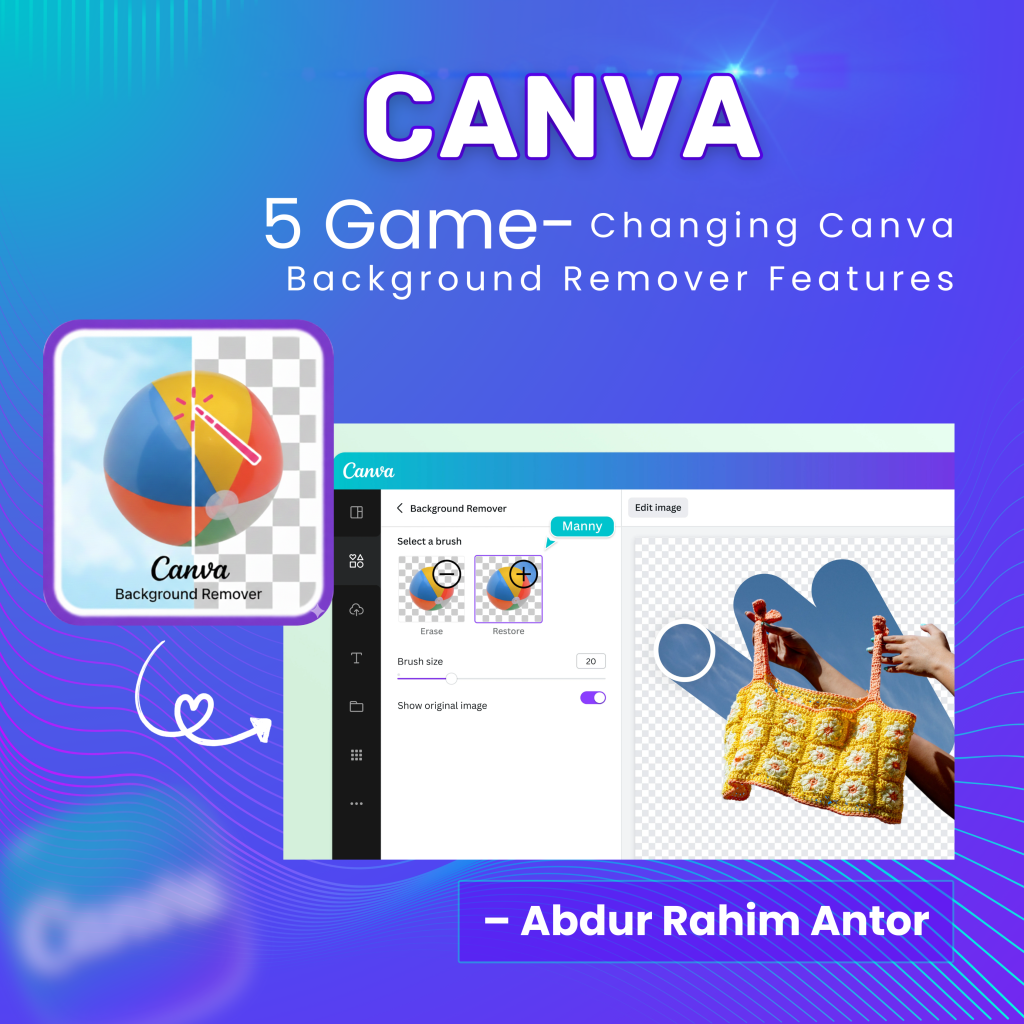
1. The Power of the Restore Brush
Have you ever tried to remove the background of a product only to find that the AI accidentally deleted a crucial part of the subject? Perhaps it was a strap on a bag, the frame of glasses, or the edge of a delicate fabric. This is where the Restore brush becomes your best friend.
By selecting the Restore brush, you can manually bring back the original pixels that were clipped. This ensures that your product remains anatomically correct and visually complete. It provides the same level of control as a layer mask in Photoshop, but with a much simpler interface.
2. Erase Brush: Achieving Crystal-Clear Edges
Sometimes, AI leaves behind a “halo” effect or small artifacts from the old background, especially in high-contrast images. These leftover pixels make a design look amateur and “cheap.” The Erase brush allows you to go back and manually clean up these edges.
For entrepreneurs, a clean product photo on a white or solid-colored background builds immediate trust. Using the Erase tool to fine-tune your borders ensures that your subject looks integrated into its new environment rather than just pasted on top.
3. Micro-Editing with Brush Size Precision
Precision is determined by the size of your tools. A common mistake is using a large brush for detailed areas. For professional results, keep your Brush Size between 10 and 20 pixels when working on intricate details like human hair, jewelry, or sharp corners.
Small brush sizes allow for unmatched control, enabling you to navigate tight spaces without affecting the rest of the image. This attention to detail is what separates a basic Canva user from a Canva Expert.
4. The ‘Show Original Image’ Toggle: Your Quality Control Guide
One of the most underrated Canva Background Remover features is the ‘Show Original Image’ toggle. While editing, it can be easy to lose track of what the original subject looked like. By toggling this switch, you see a transparent overlay of the unedited photo.
This acts as a guide, helping you identify exactly which parts have been removed and which parts need to be restored. It is an essential step in quality control, ensuring that your final output is an accurate representation of your brand’s assets.
5. Synergy with Magic Eraser
True expertise comes from knowing how different tools work together. Often, a background is clean, but the subject itself has distracting elements—like a glare on a surface or an unwanted object in the frame. By using the Magic Eraser in tandem with the background remover, you can clean up the entire scene in seconds.
Practical Example: E-commerce Product Photography
Imagine you are selling handmade crochet bags. You take a photo in natural light, but the background is a messy workshop.
-
Use the Background Remover for the initial cut.
-
Use the Restore brush to bring back any fine crochet loops the AI missed.
-
Use a small Brush Size to Erase the shadows between the handles.
-
Toggle Show Original to ensure the colors and edges match the physical product.
-
Finalize with a Shadow Effect to make the bag look like it’s sitting on a real shelf.
Frequently Asked Questions (FAQ)
Q1: Is the Background Remover available in the free version of Canva? No, this is a premium feature included in Canva Pro. For entrepreneurs, the time saved and the professional quality achieved make it a high-value investment.
Q2: Does it work on mobile devices? Yes, all these manual adjustment tools (Restore, Erase, Brush Size) are available on the Canva mobile app, allowing you to edit on the go.
Q3: Can I remove backgrounds from videos? Yes, Canva has introduced a Video Background Remover that follows similar AI principles, though manual brush adjustments are currently focused on images.
Q4: How do I handle complex hair or fur? For complex textures, use the Restore brush with a very small brush size and lower the transparency of your background to see the edges more clearly during the process.
Q5: Can I undo my manual brush strokes? Yes, you can use the standard ‘Undo’ command or simply switch between the Erase and Restore brushes to fix any mistakes during the session.
